Earth Date: 15.9.15
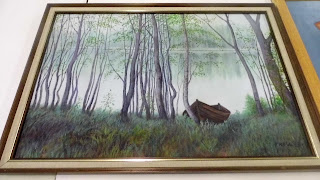
Here you can see the step in framing, well, some of them. The method is similar in this as it was in the earlier series of three prints. Except this one wasn't pinned to a wooden frame underneath. So the first step was making it acceptable to be framed.
I wrapped it around a thick board of foam core, made sure it was on the board straight and begun the meticulous work of needling it in place with string. Even though the board stays untouched by foul string and prickly needles, it actually holds in place quite nicely.
The less resolute member of my group questioned my sanity, not knowing that I took intensive mental training before setting a foot on this planet.
Once again, no pictures of the cutting or putting together of the frames or glass. If the cut glass fits the frame, it's time to clean it up.
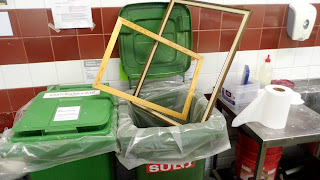
After the glass has been cleaned time and again, small plastic strips are placed to keep the work separate from the glass. To uphold the safety and integrity of the work within. After that it's time to put the back board in place and staple it in. Never mind the mistake below (the protective cardboard wasn't long enough, don't worry, a new one was cut).
After that, brown strips of glue tape were installed to make sure no dust would ever get in. The hanging wire is attached and voila! It is done.
Shutting down interface.


